

-
Prep Time20 Mins
-
Cook Time55-60 Mins
-
Serving8-10
-
View
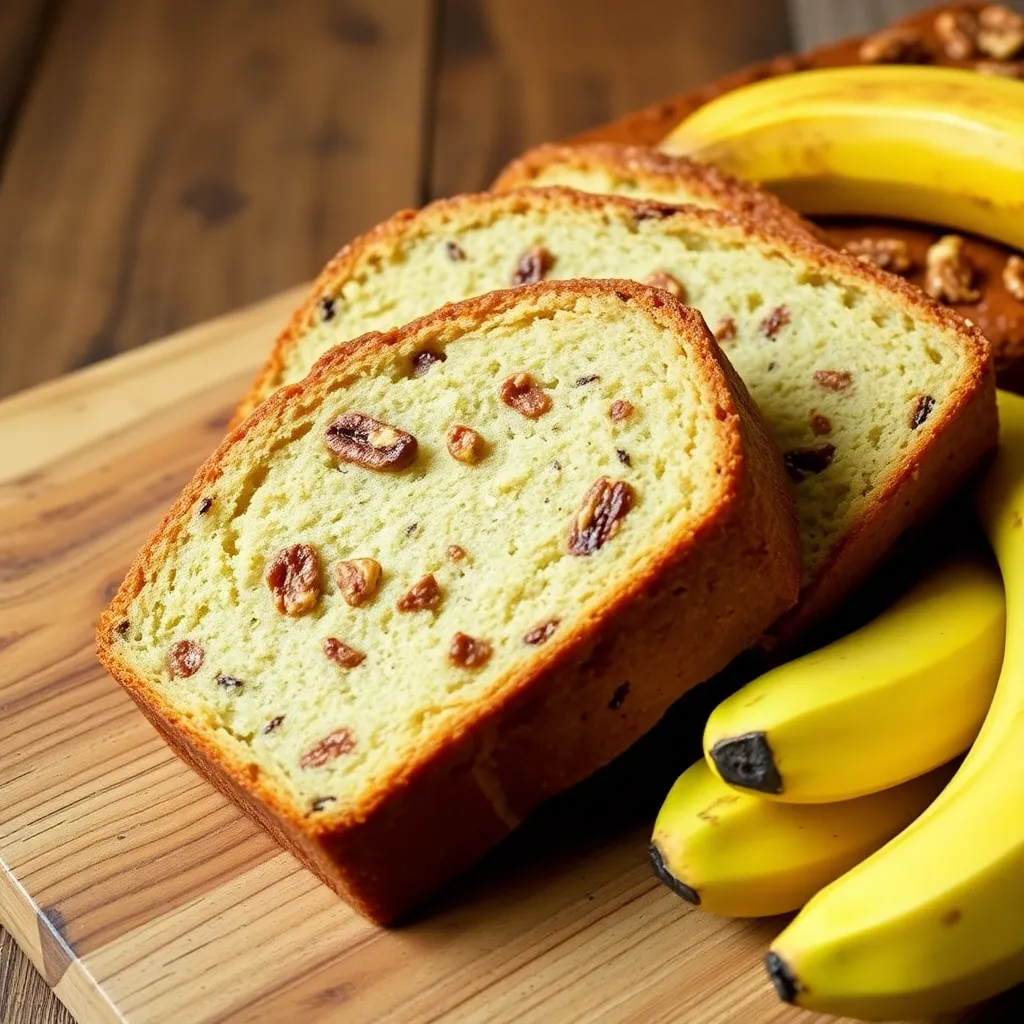
This super moist banana nut bread is a delicious and satisfying treat that’s perfect for breakfast, snack, or dessert. Made with ripe bananas, crunchy walnuts, and a hint of cinnamon, this bread is sure to become a family favorite!
Directions

Preheat your oven to 350°F (180°C). Grease a 9x5-inch loaf pan and set it aside.

In a large mixing bowl, combine the softened butter and granulated sugar. Beat until light and fluffy.

Add the eggs one at a time, beating well after each addition. Beat in the vanilla extract.

Mash the ripe bananas with a fork until they're smooth. Add them to the mixing bowl and mix until well combined.
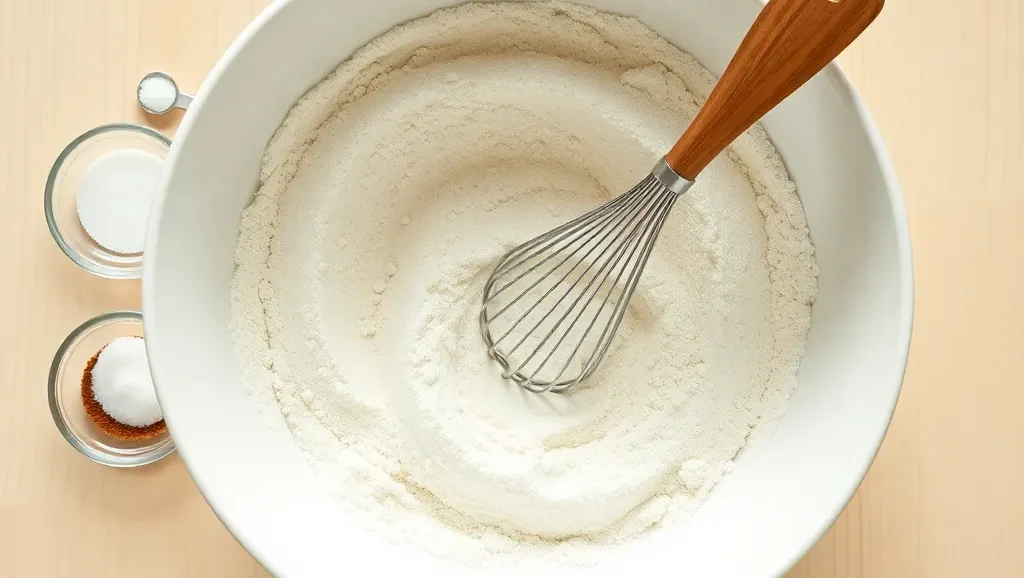
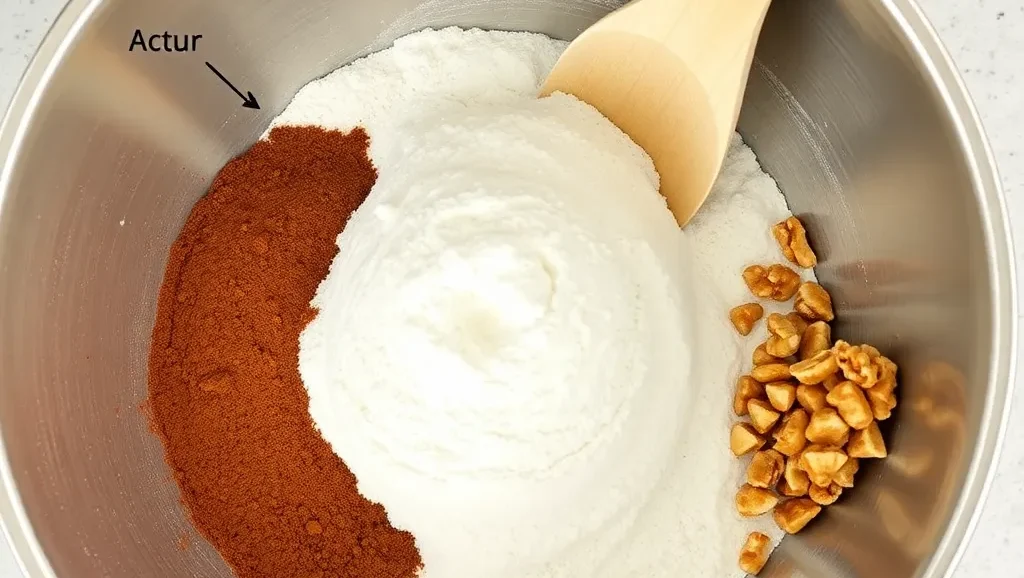
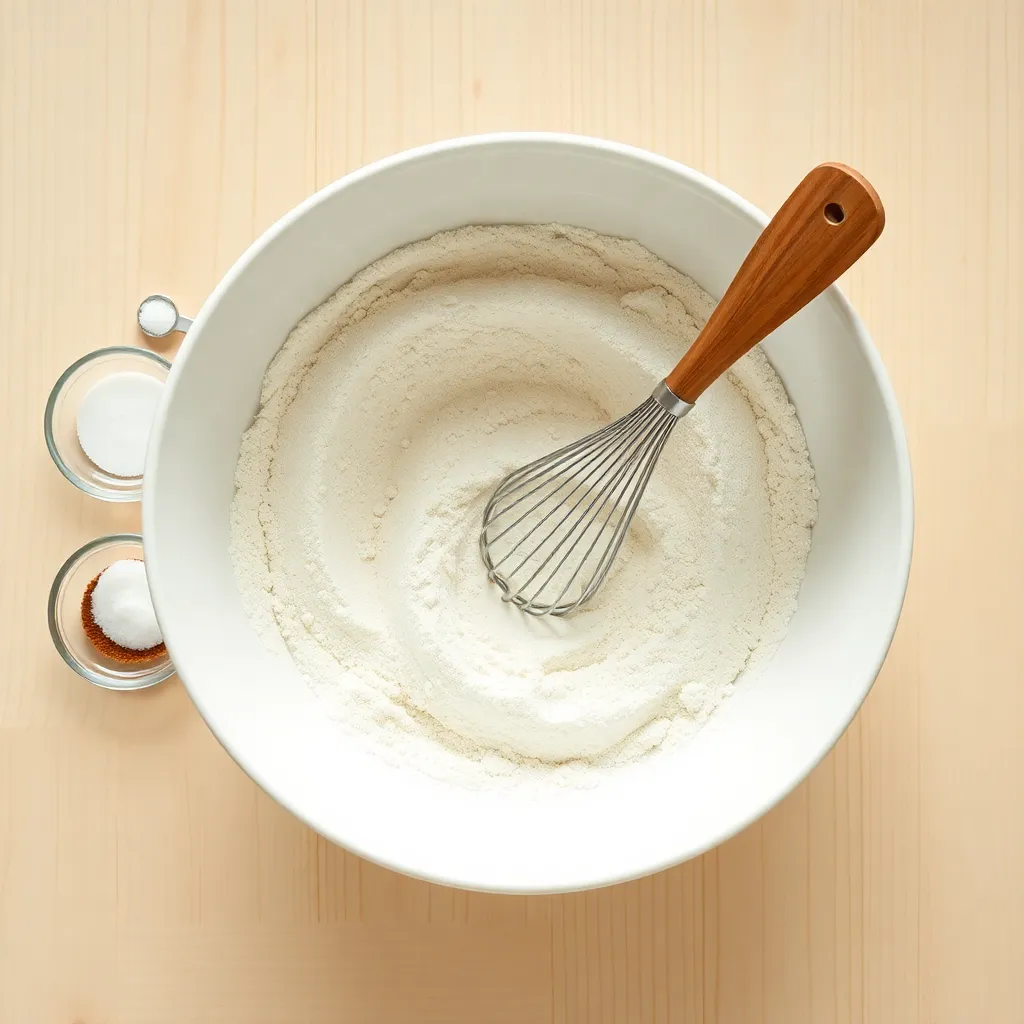
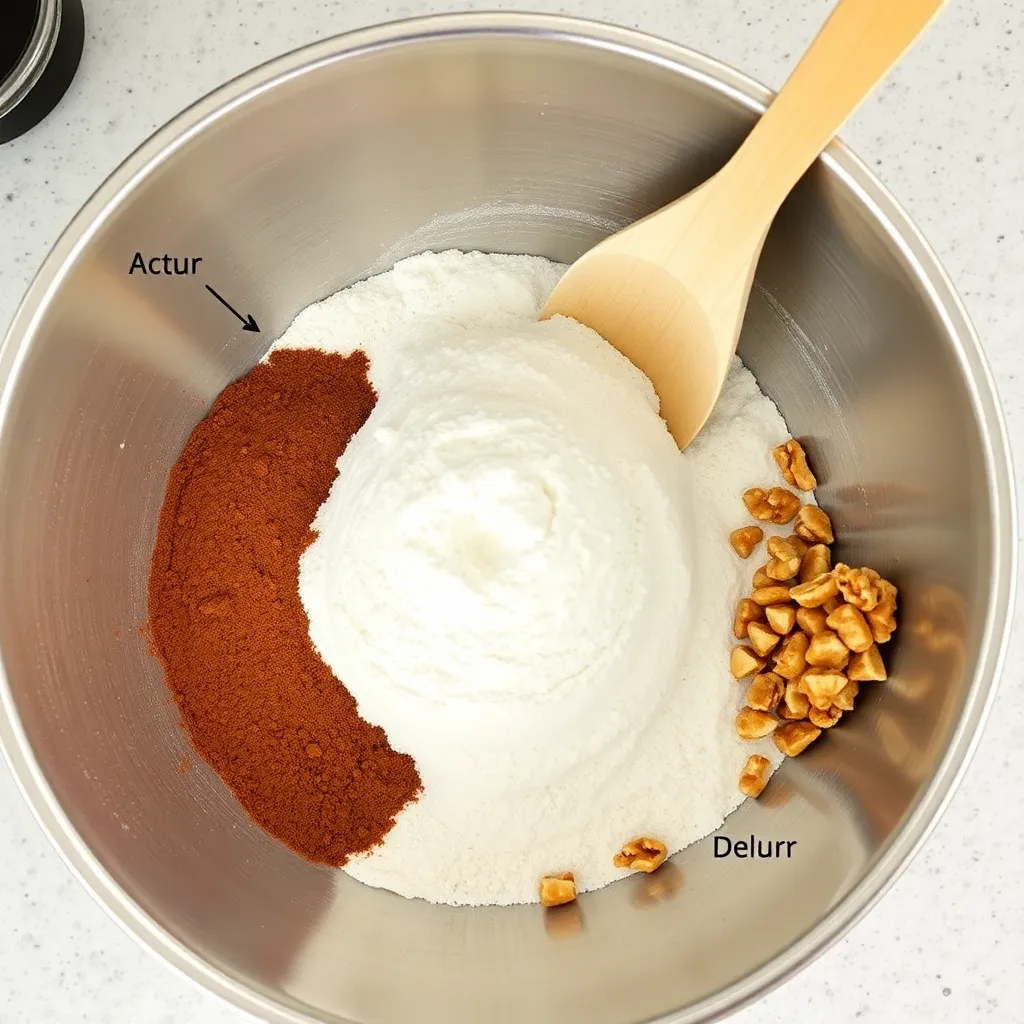
In a separate bowl, whisk together the flour, baking powder, cinnamon, and salt.
Add the dry ingredients to the mixing bowl and mix until just combined. Do not overmix.

Fold in the chopped walnuts.

Pour the batter into the prepared loaf pan and smooth the top.
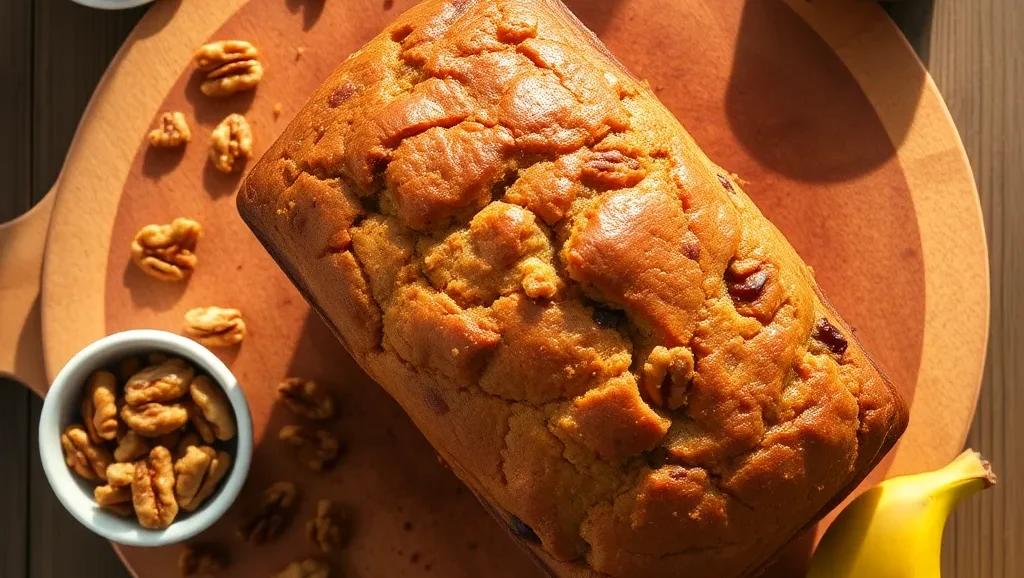
Bake for 55-60 minutes or until a toothpick inserted into the center comes out clean.
Conclusion
Tips:To ensure the banana bread is extra moist, use overripe bananas and don't overmix the batter.Store the cooled banana bread in an airtight container at room temperature for up to 3 days or freeze for up to a month.Enjoy your delicious super moist banana nut bread!


Leave a Review