


-
Prep Time15 Mins
-
Cook Time70 Mins
-
Serving8
-
View
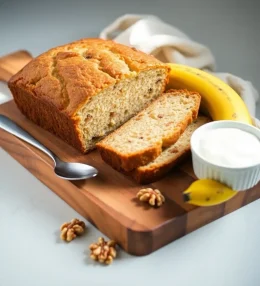
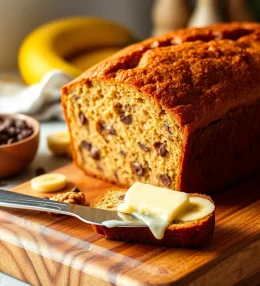
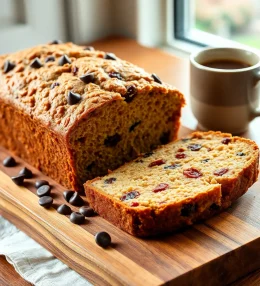
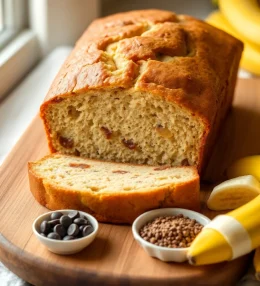
This classic moist banana bread is easy to make and always a crowd-pleaser. With four large ripe bananas, it’s packed with natural sweetness and perfect for a quick breakfast or snack.
Ingredients
Directions
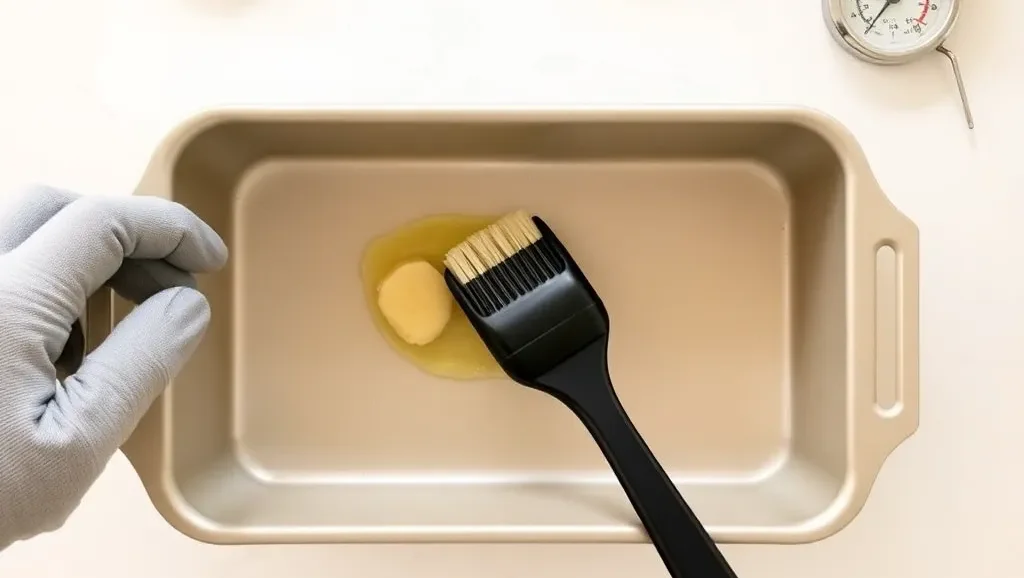
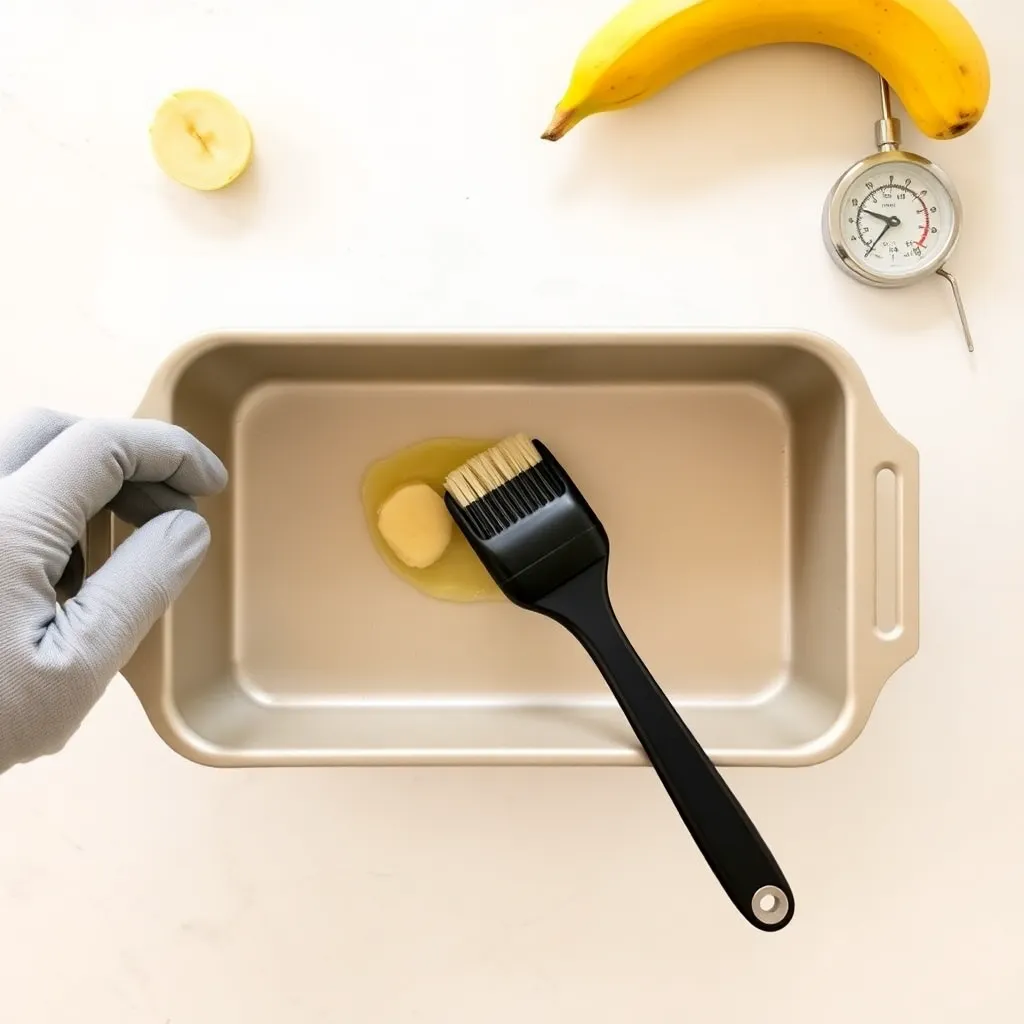
Preheat oven to 350°F (175°C) and grease a 9x5-inch loaf pan.

Mash the ripe bananas in a large mixing bowl with a fork until smooth. This will be the base of your banana bread.

In a separate bowl, whisk together the flour, sugar, baking powder, baking soda, and salt. Mix well to combine.

Add the softened butter to the dry ingredients and mix until it resembles coarse crumbs.

In a small bowl, whisk together the eggs and vanilla extract. Add the egg mixture to the banana mixture and stir until well combined.

Gradually add the dry ingredients to the banana mixture, stirring until the batter is smooth and free of lumps. Don't overmix.

Pour the batter into the prepared loaf pan and bake for 60-70 minutes, or until a toothpick inserted into the center comes out clean.
Conclusion
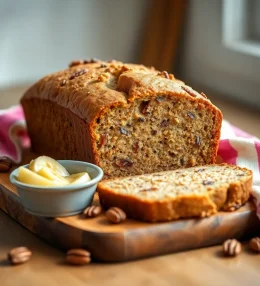
Let the banana bread rest in the pan for 10 minutes before transferring it to a wire rack to cool. Once cooled, wrap it in plastic wrap or aluminum foil and store at room temperature for up to 3 days, or freeze for up to 2 months.


Leave a Review